
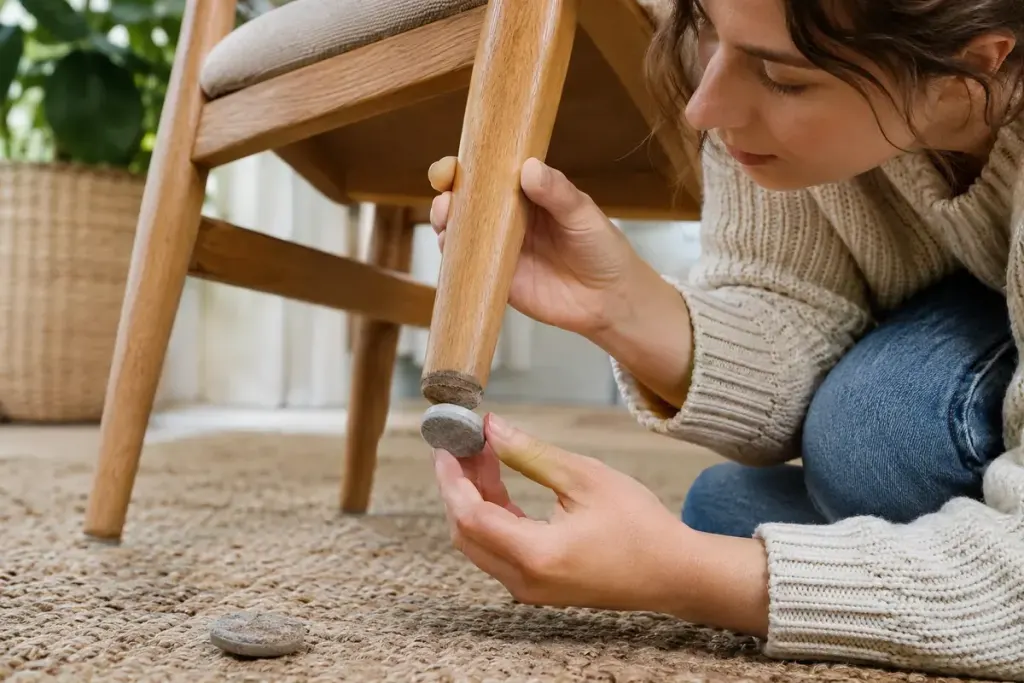
A new scratch beneath a dining chair may begin with a tiny part: the pad or glide where the leg meets the floor. Replacing that small component can keep an otherwise serviceable chair useful, but first check whether it is worn, missing or carrying trapped grit.
Inspect all the contact points
Move the chair safely and look at every foot. Compare the thickness and condition of the protectors. A pad that has shifted sideways may expose a hard edge, while a partly detached one can collect debris underneath. Clean the surrounding floor before testing the chair again.
Do not assume that a scratching sound means the whole chair needs replacing. Equally, do not use a thicker pad to conceal a loose or damaged leg. Structural movement needs its own repair assessment.
Match the fixing and material
Protectors come with different attachment methods. IKEA’s TRIXIG rivet protectors, for example, illustrate a mechanically attached option. Adhesive pads, fitted caps and other designs are not automatically interchangeable with it.
Check the chair manufacturer’s guidance and the flooring care instructions. Identify the leg material, foot shape and existing fixing before choosing a replacement. A protector suitable for one floor finish may not be the right choice for another.
For an adhesive product, follow the instructions for surface preparation rather than sticking a fresh pad over old debris. For a fixed insert or fastener, use the specified method; drilling into an unfamiliar chair leg is not a universal solution.
Make the check part of ordinary cleaning
After replacement, set the chair down and check that it sits evenly. Test movement gently and inspect the new contact points. Keep spare matching protectors with the item’s details so a later replacement does not become another search.
A quick look during floor cleaning can catch a missing pad before repeated movement marks the surface. The useful habit is modest maintenance at the point of wear, while the larger item remains in good condition.